
Adeept 5DOF Robot Arm 5Axis Robotic Arm Kit Compatible with Arduino
DIY Arduino Robot Arm with Smartphone Control How To Mechatronics 652K subscribers Subscribe Subscribed 21K 1.2M views 5 years ago Circuit, Code, 3D Model and more details here.

Arduino Robot Arm Instructables
Average ($40 - $80) Safety No issues Credits Ben Finio, PhD, Science Buddies Popsicle Stick Robotic Arm with Arduino Google Classroom Objective Design and build your own working robotic arm. Introduction While we sometimes take them for granted, human arms and hands are pretty amazing.

DIY Arduino Robot Arm with Smartphone Control HowToMechatronics
Step 1: Requirements Robot Arm SSC-32 Arduino board (i used the arduino duemilanove) Battery (you can use a 5v power supply instead of the battery) Voltage regulator (not needed if 5v power supply is used) 2 USB to serial cables I bought the Robot arm, ssc-32 and arduino board from Bizoner. The other materials were locally acquired Ask Question

Robot Arm Arduino App 8 Steps Instructables
March 11, 2017 By Anusha Robotic Arm is one of the popular concepts in the robotic community. Robotic arms are very common in industries where they are mainly used in assembly lines in manufacturing plants. The first thought for a beginner would be constructing a Robotic Arm is a complicated process and involves complex programming.

Programmable Arduino Robotic Arm Smartphone Control NevonProjects
You can find the code and the full instructions on my site: https://smartbuilds.io/Support me making more projects like this on Patreon: https://www.patreon..
LittleArm Arduino Robot Arm Arduino Project Hub
by Emmett Grames Published Jul 10, 2018 Robot arms are already great, but they're even better when combined with everyone's favorite microcontroller: the Arduino. Keep reading for a list of the best Arduino robot arms available today.

Arduino Robotic Arm 13 Steps (with Pictures)
Subscribe Subscribed 418K views 7 months ago UNITED STATES I made an Arduino based robotic arm with a unique control system for under $60! This video will take you through the design,.

How to make Arduino Robot Arm YouTube
Make sure that the limits of the motors reach their physical boarders. The default positions of the arm at power-on are: servo 0: 90. servo 1: 120. servo 2: 90. servo 3: 120. servo 4: 120. servo 5: 0. The Arduino is used only to get USB frames sent from the PC an navigate the motors of that drive the arm accordingly.

LittleArm Big Arduino Robot Arm for Makers and Education by Slant
Arduino Robotic Arm By biomech75 in Circuits Microcontrollers 96,451 351 19 Featured Download By biomech75 Follow More by the author: About: Evo 8, Honda K, B Engines Mods More About biomech75 » In this instructurable I will show you how to make a simple robotic arm controlled by 4 servos , 2 analog joysticks, and an Arduino UNO.
Arduino Robot Arm 4DOF Mechanical Claw Kit
The next evolution of the Tinkerkit Braccio robot, Arduino Braccio ++ is a robotic arm designed solely for higher education, including engineering schools and university institutes of technology - or even advanced high school and college students studying the sciences, industrial science or technology.

Arduino Controlled Robotic Arm W/ 6 Degrees of Freedom Arduino, Robot
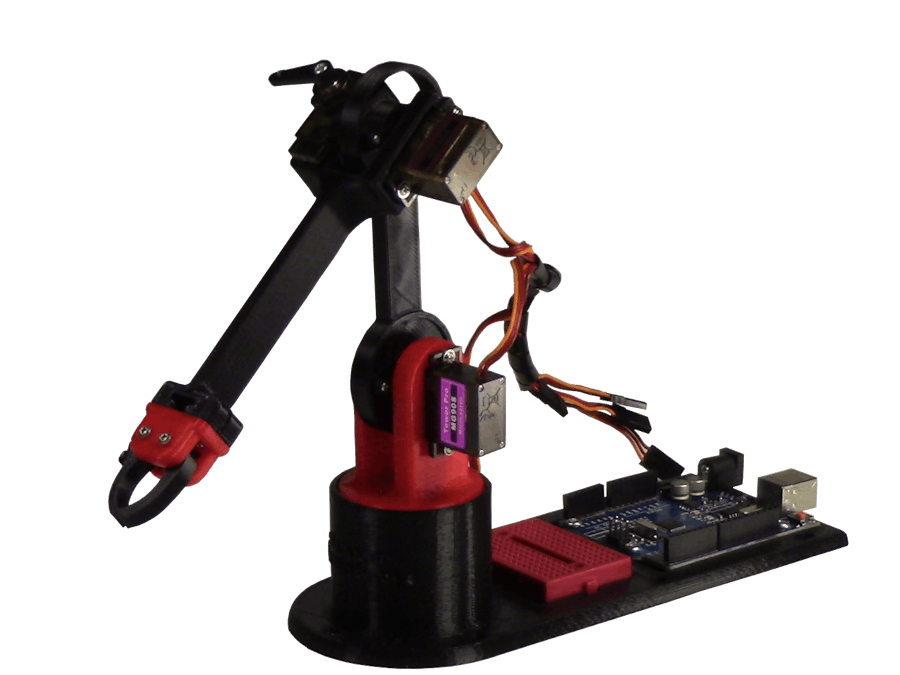
Designing the Robotic Arm I built a simple 5-DOF robot arm. The robot only has revolute joints powered by SG90 low torque and inexpensive hobby servo motors. These motors are position-controlled and need PWM signals for movement. For low-level control of the servos, an Arduino Uno is used. You can find the code on my GitHub.
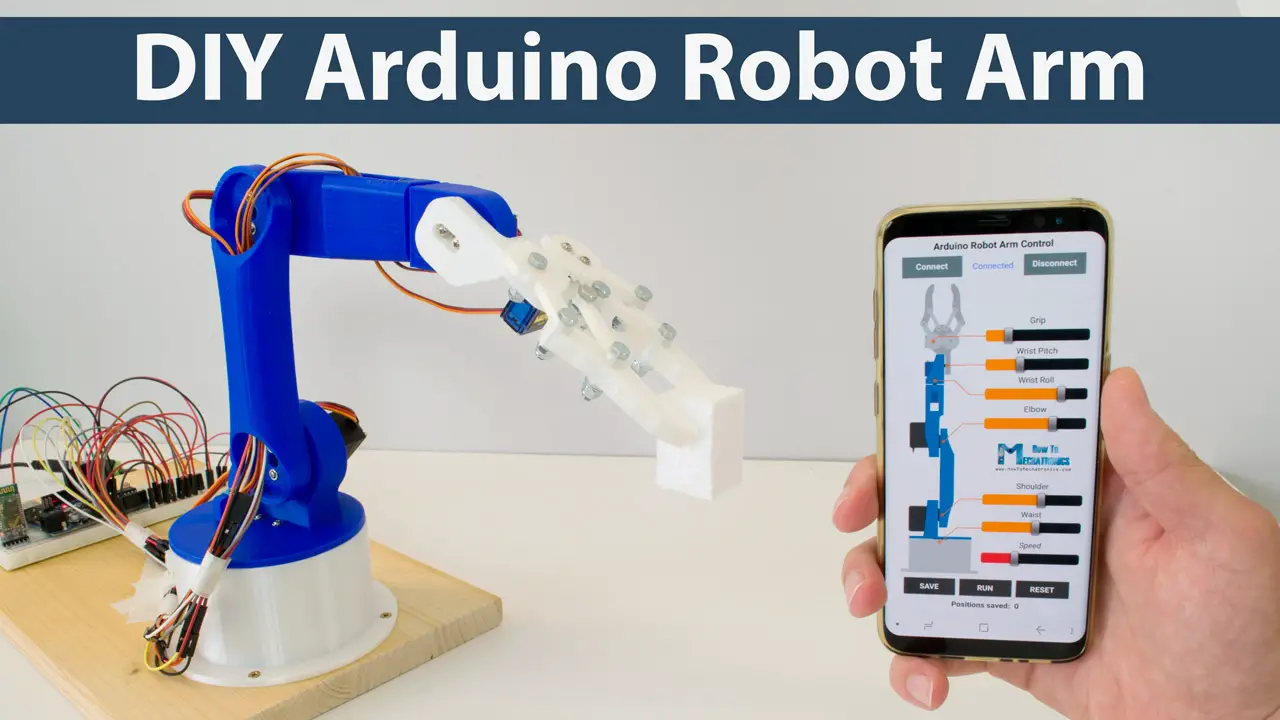
DIY Arduino Robot Arm with Smartphone Control How To Mechatronics
How It Works - Hardware While this project does involve electronics, it relies on the combination of both electronics and mechanical design. This arm functions by using servo motors which are controlled by a PWM signal. The duty cycle of the PWM signal determines the angle at which the servo points.

100 Days Free Returns Online activity promotion Freenove Quadruped
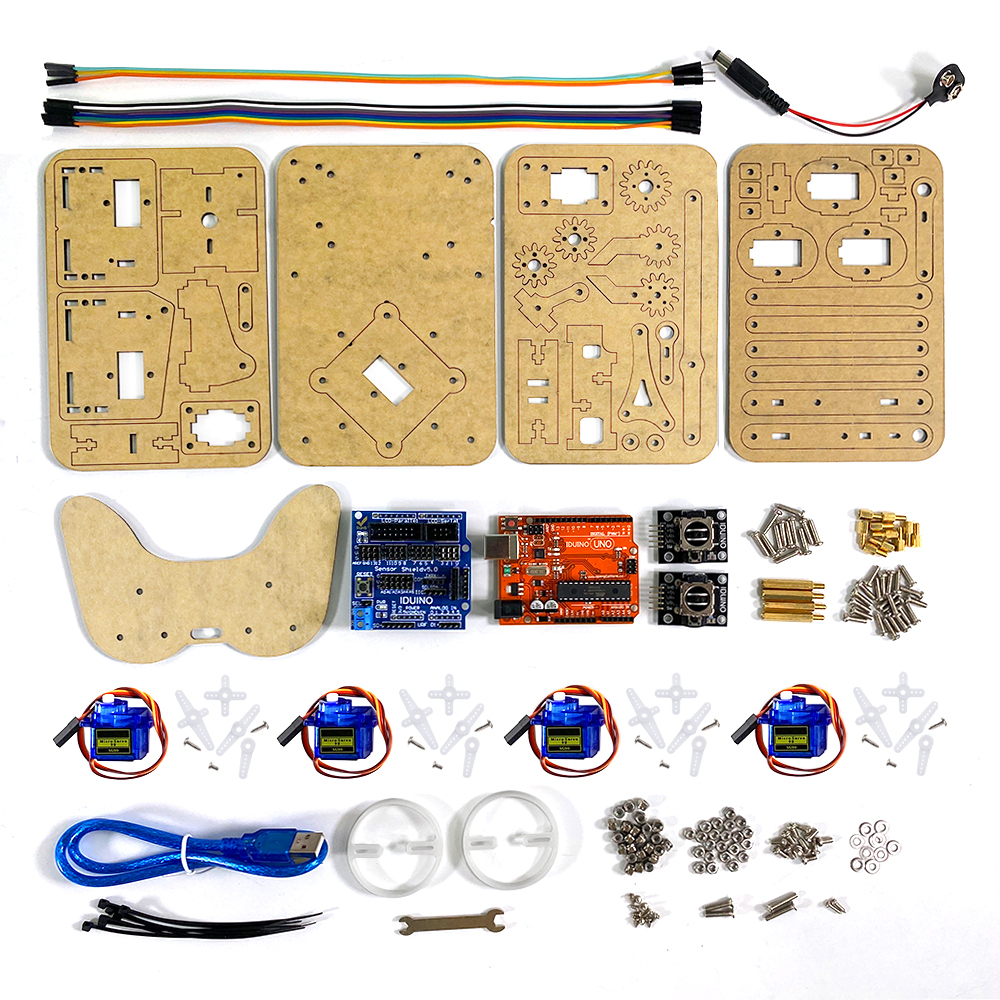
This tutorial covers how to assemble a robot arm kit for sale in the market step by step and how it works with an Arduino. Also, use this tutorial to understand how a robotic arm works. Ok, let's do this project step by step. The required components are given below. Robot arm kit x 1 — Amazon / Our Store. Arduino UNO board x 1 — Amazon.
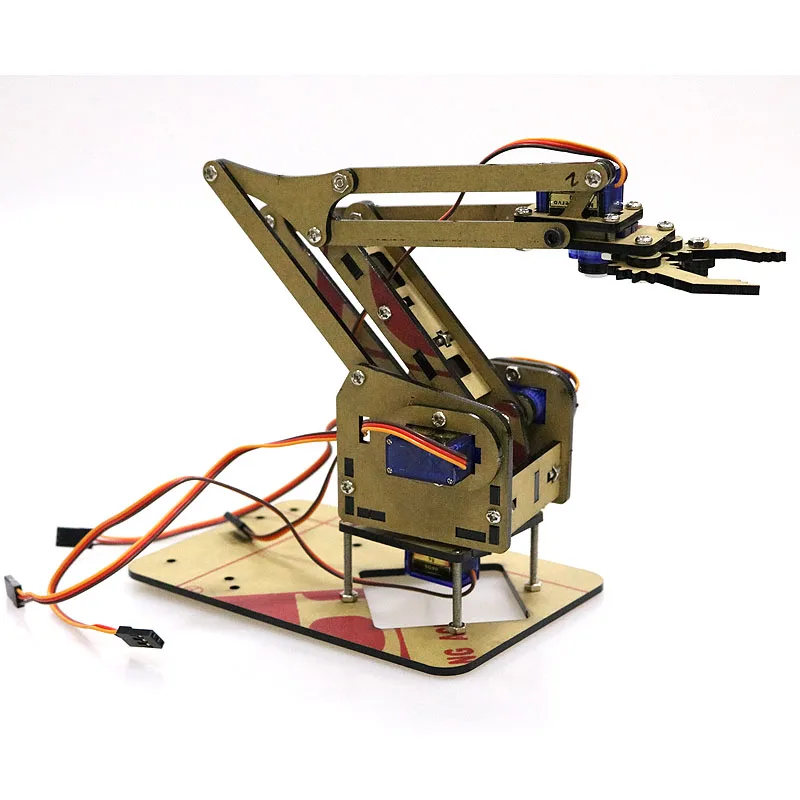
4 DOF Unassembly Acrylic Mechanical Arm Robot Manipulator Claw for
The TinkerKit Braccio is a fully operational robotic arm, controlled via Arduino. It can be assembled in several ways for multiple tasks such as moving objects. You can also attach a camera or solar panel. There are so many ways in which the Braccio can extend the reach of your devices. Assembly

Arduino Robot Arm Instructables
The meArm is an open-source kit with all the parts you need to build a small, Arduino-powered robotic arm. You can order a ready-made set from stores like Hackaday, or download the plans from.
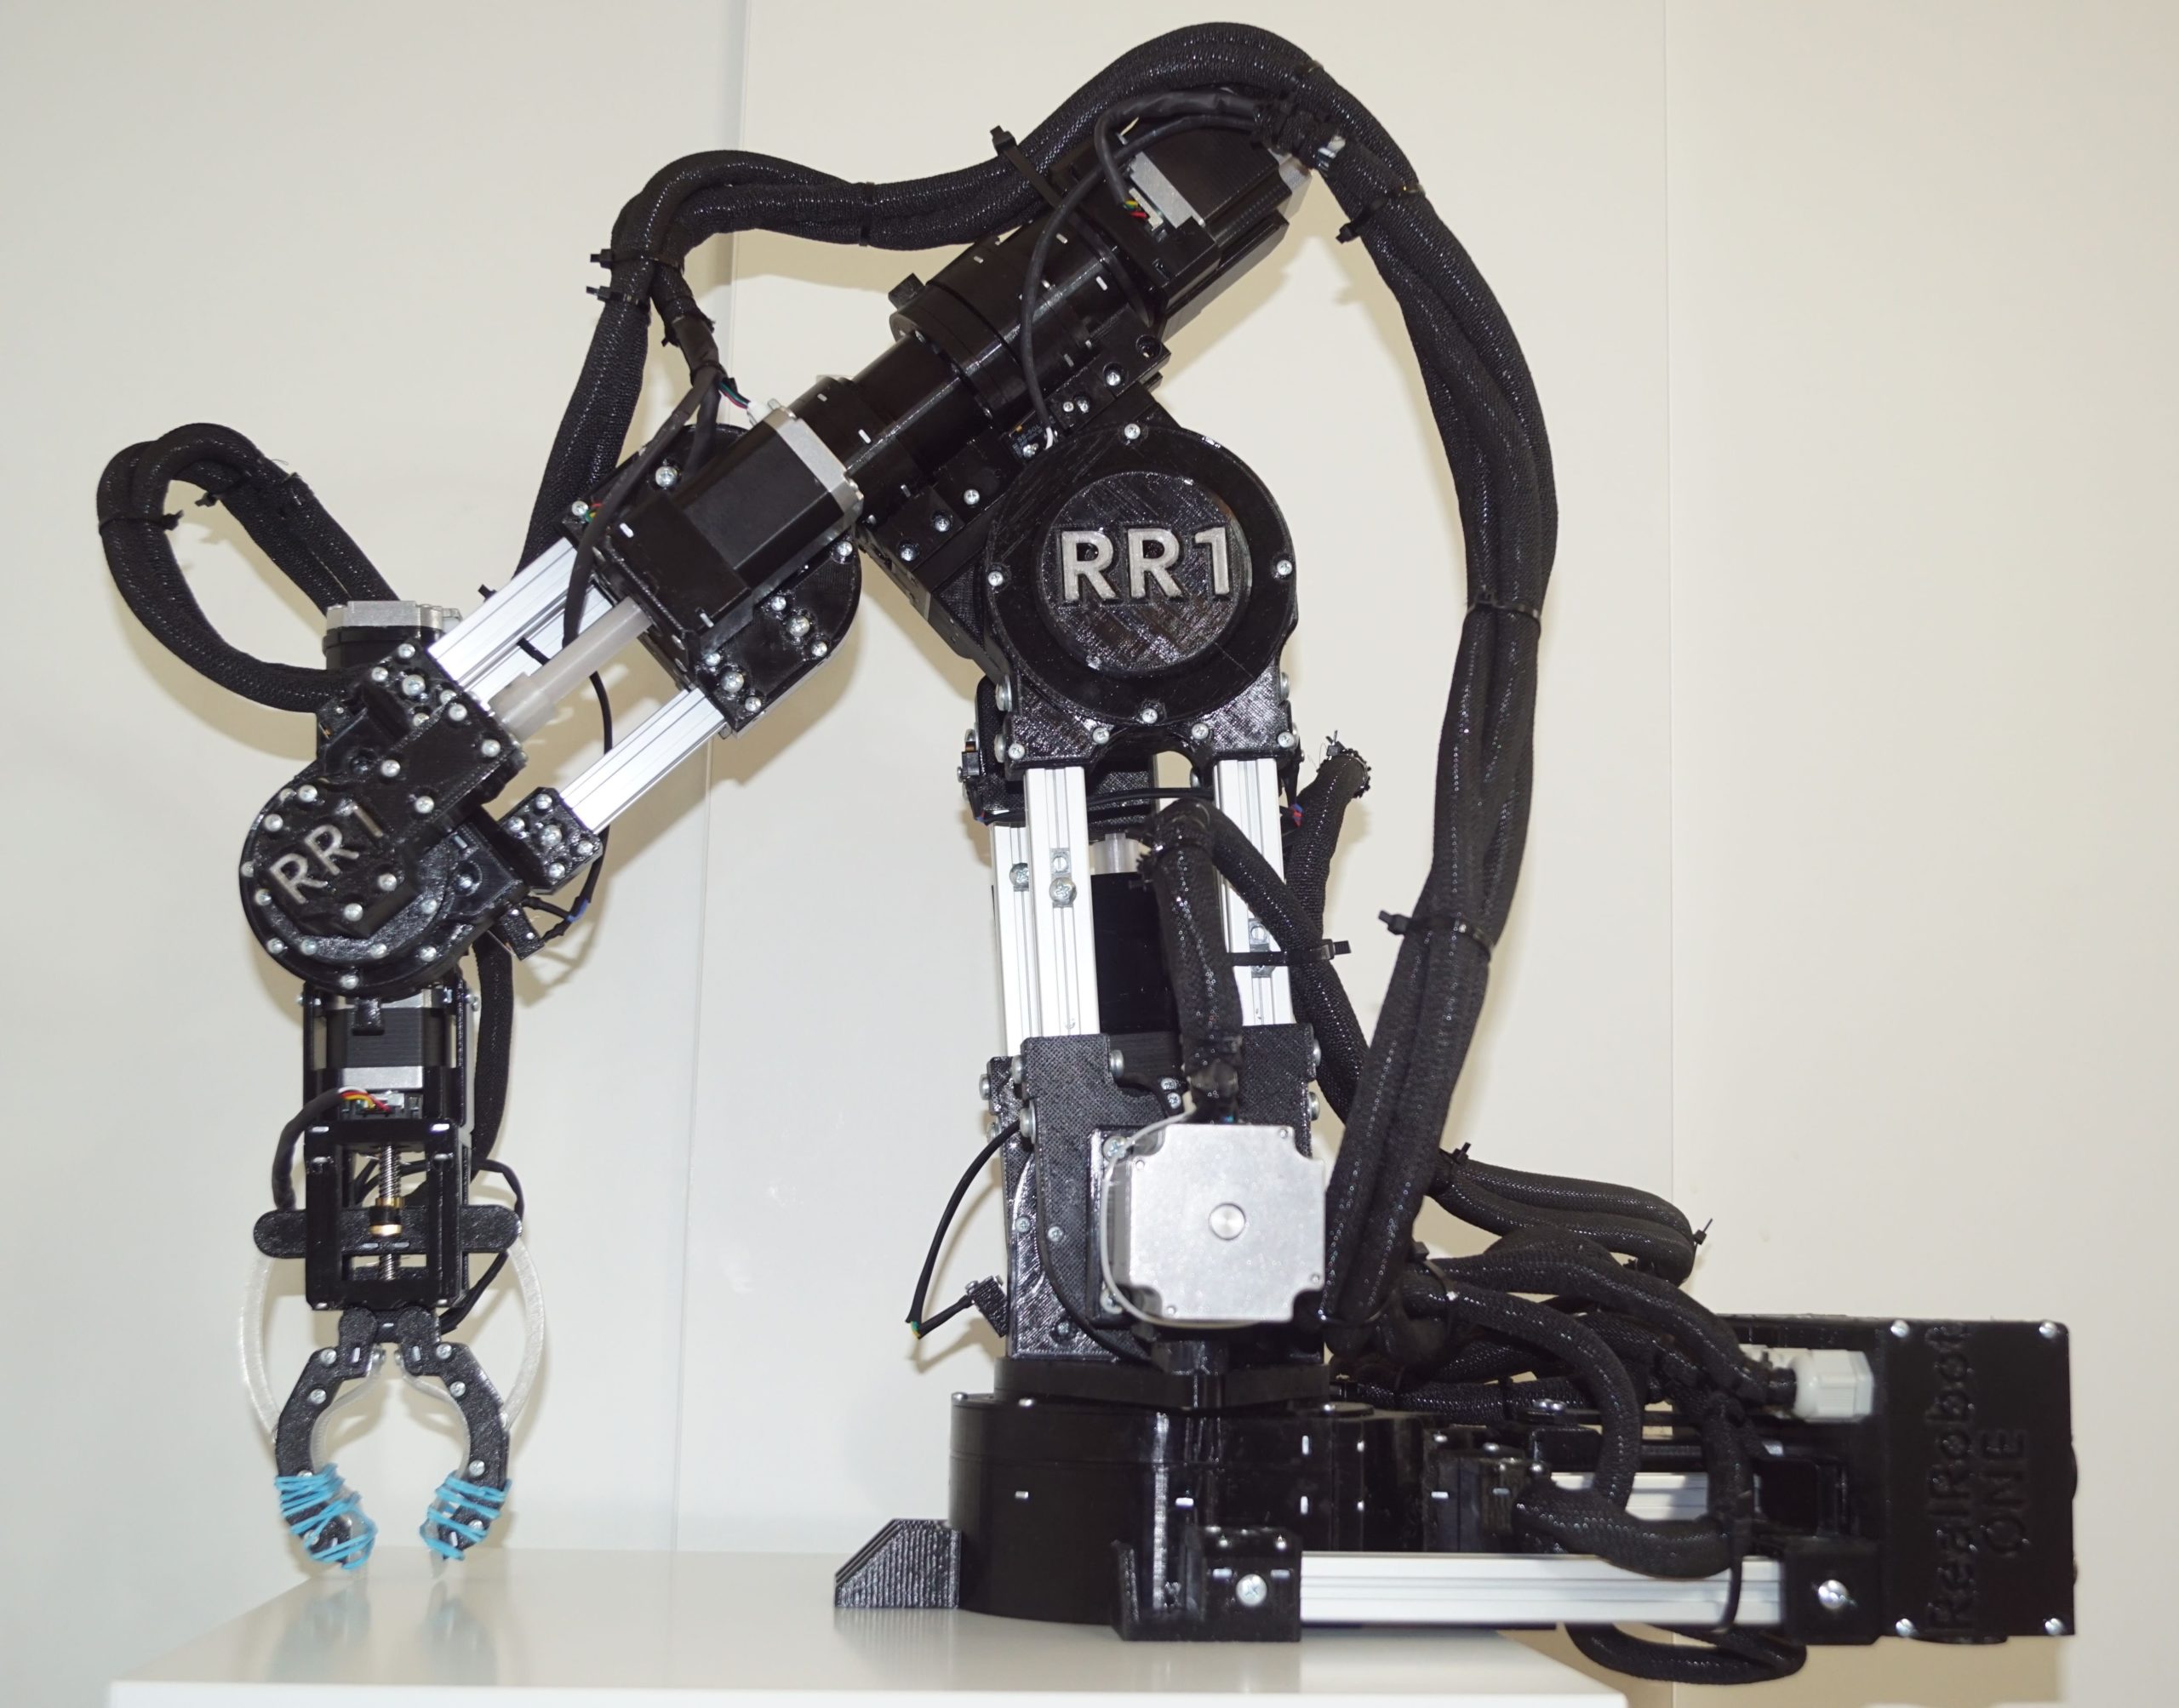
Real Robot One is a highperformance robotic arm that you can build
Step 1: Set Up Your Robot Arm Hardware The RobotGeek Snapper Robot Arm Kit comes with all of the robotic hardware you need for this instructable - you'll just need a Windows, Mac or Linux computer. This project can also be done with the RobotGeek Snapper Core Arm Kit, assuming that you have your own microcontroller, power supply and wiring.